Desided to go along with the original plan & do the panel like I wanted!
I've started all the cuts but have some repairs to complete first before I drop it 

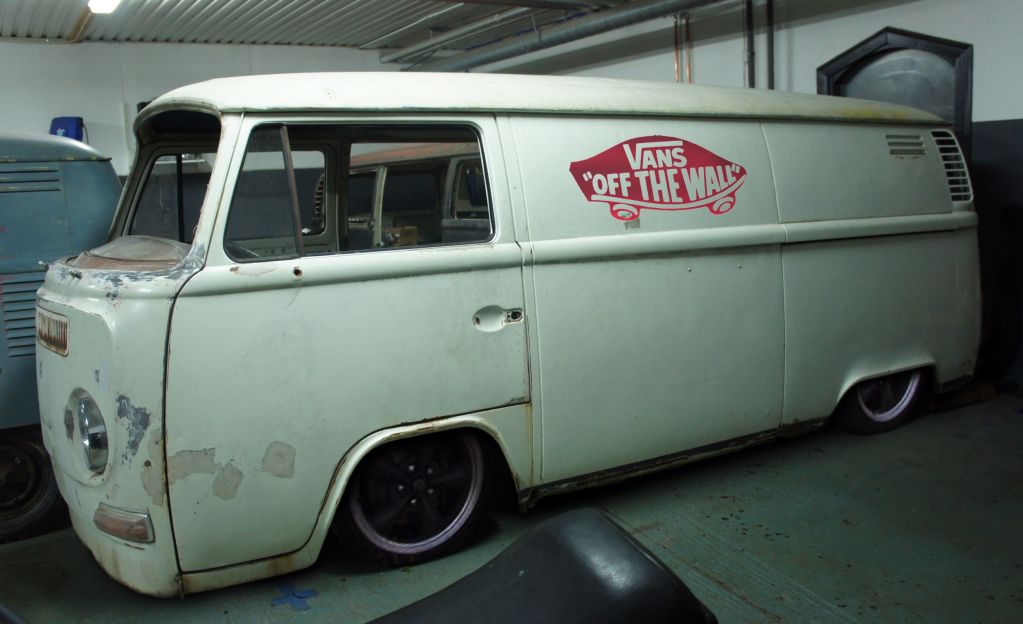

low'n slow!
Du är inte inloggad. Logga in eller registrera dig.
Boxerville » Projekt » Slambox Project 72 bodydropper
Du måste logga in eller registrera för att svara
Desided to go along with the original plan & do the panel like I wanted!
I've started all the cuts but have some repairs to complete first before I drop it

Cool project ! 
Cool project !
Thanks bro

ah sweet ! 


Nice! Umeå represent!
Nice! Umeå represent!
Word
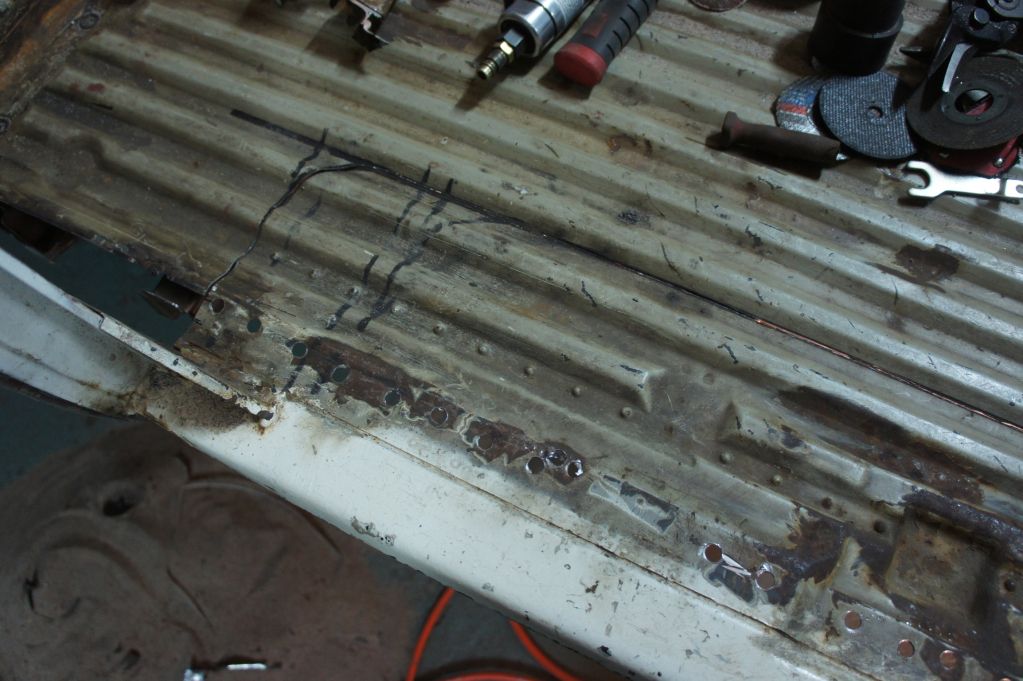
So today was just a but more cutting, grinding & cleaning to prepare for the new sills! 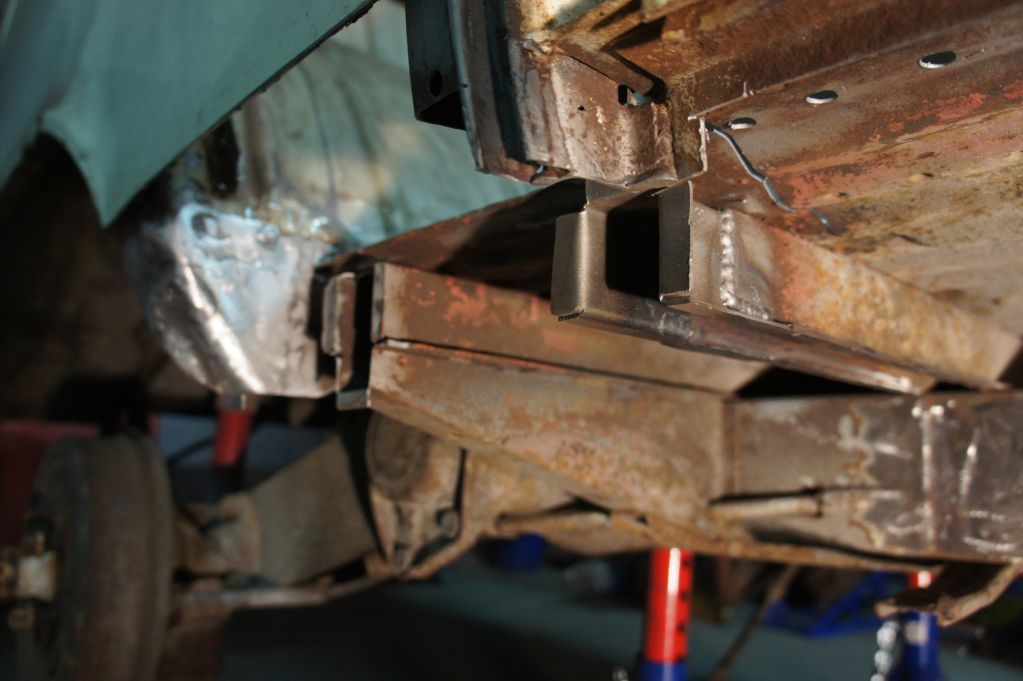
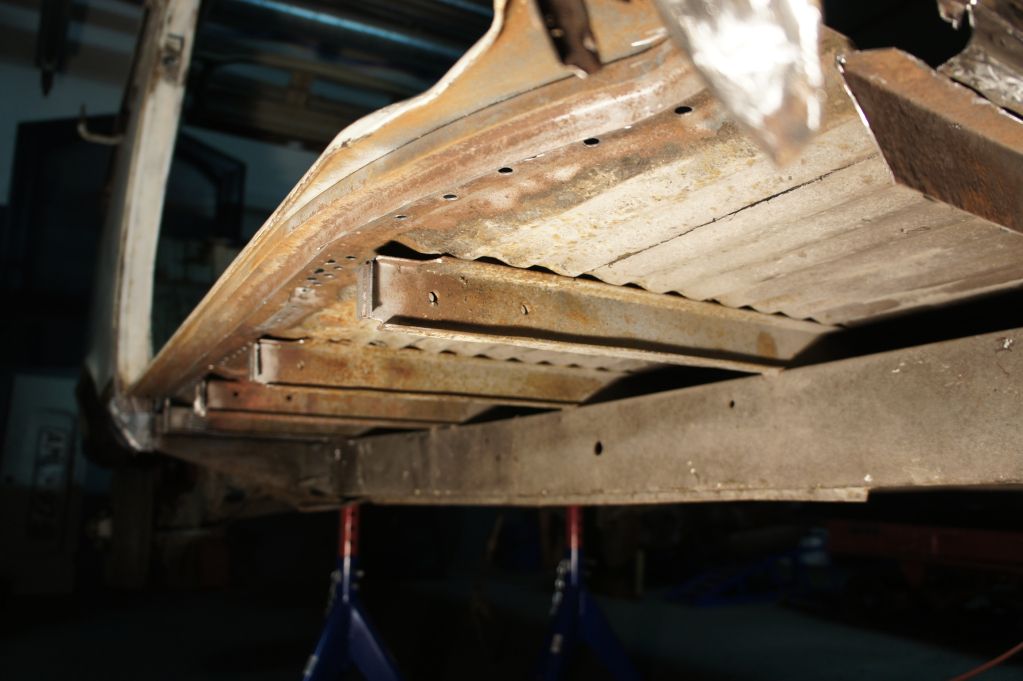
Also prepping to run custom hangers for the body drop! We loose the jacking point because the sills will be lower than the rails so refiguring new points once I weld in the beams.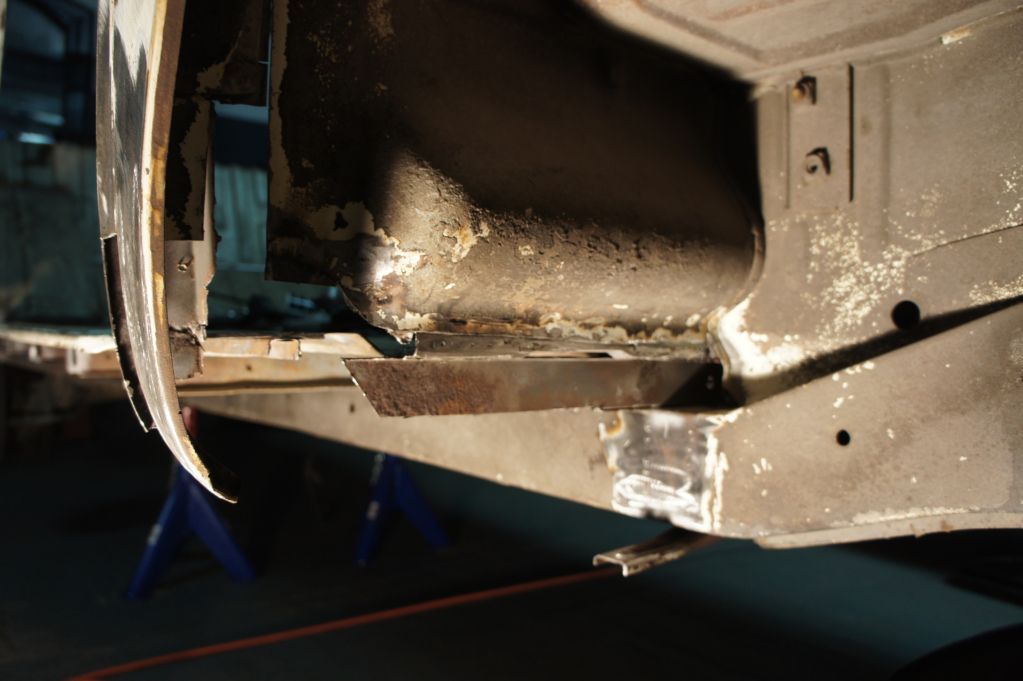
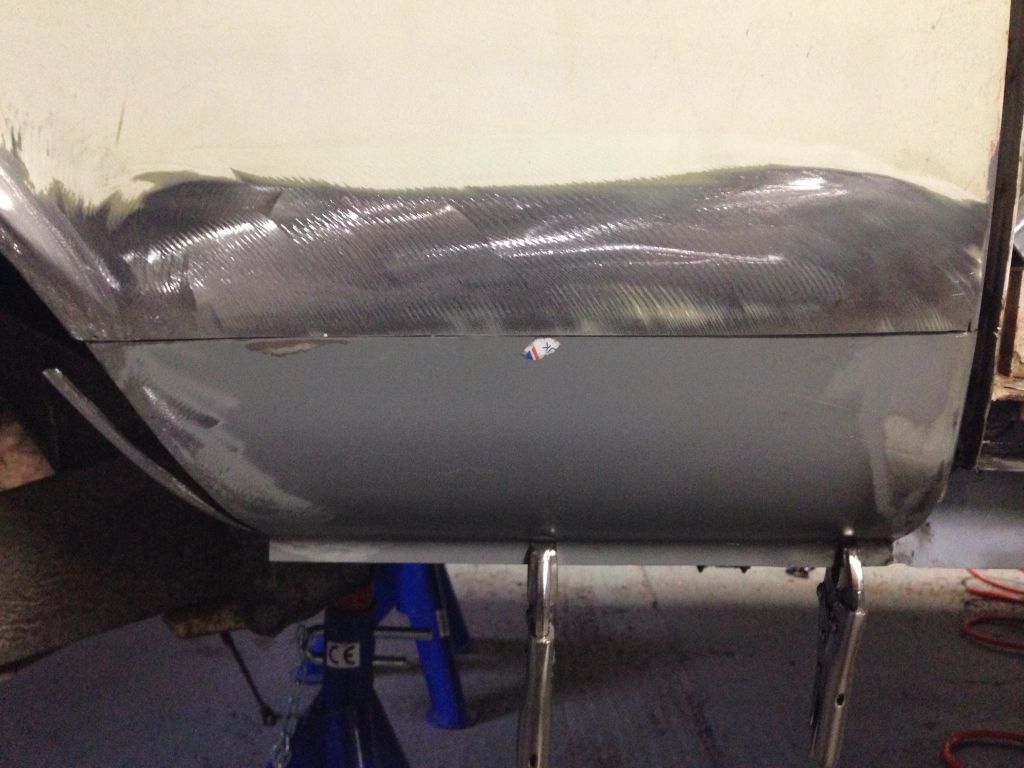
Gonna do something a little different here....... Instead of just making panels to fill the drop section I'm going to try & give it a more factory look by giving it a step into the cargo floor 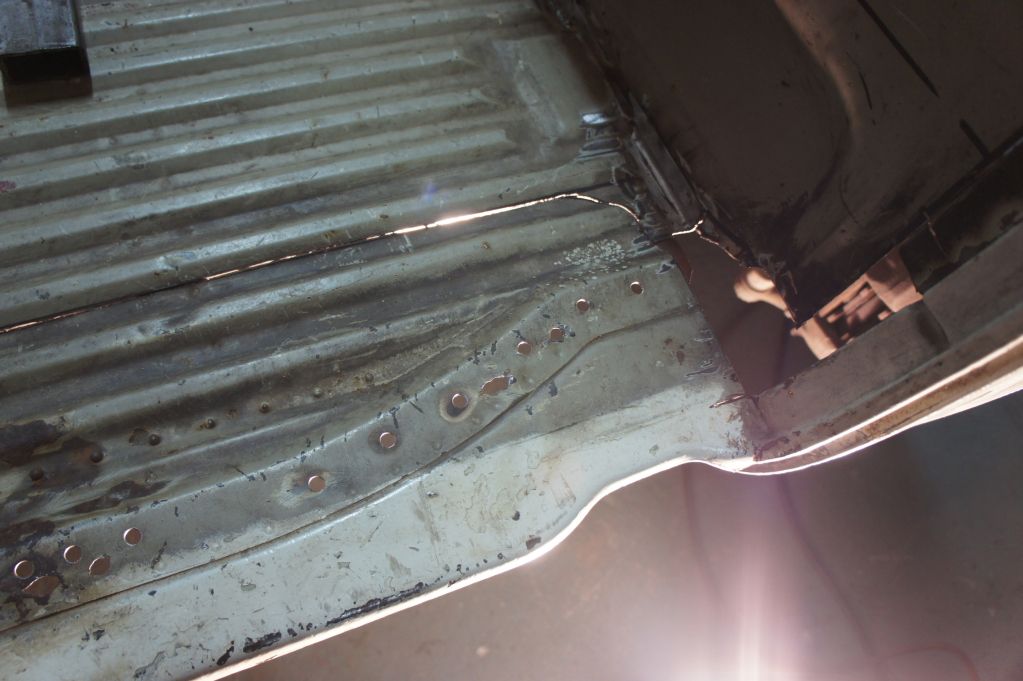
Now to go play with my BMXs

It will be interesting to follow your work on this bus, haven't seen a step by step bodydrop before 
It will be interesting to follow your work on this bus, haven't seen a step by step bodydrop before
Glad you think so I will do my best
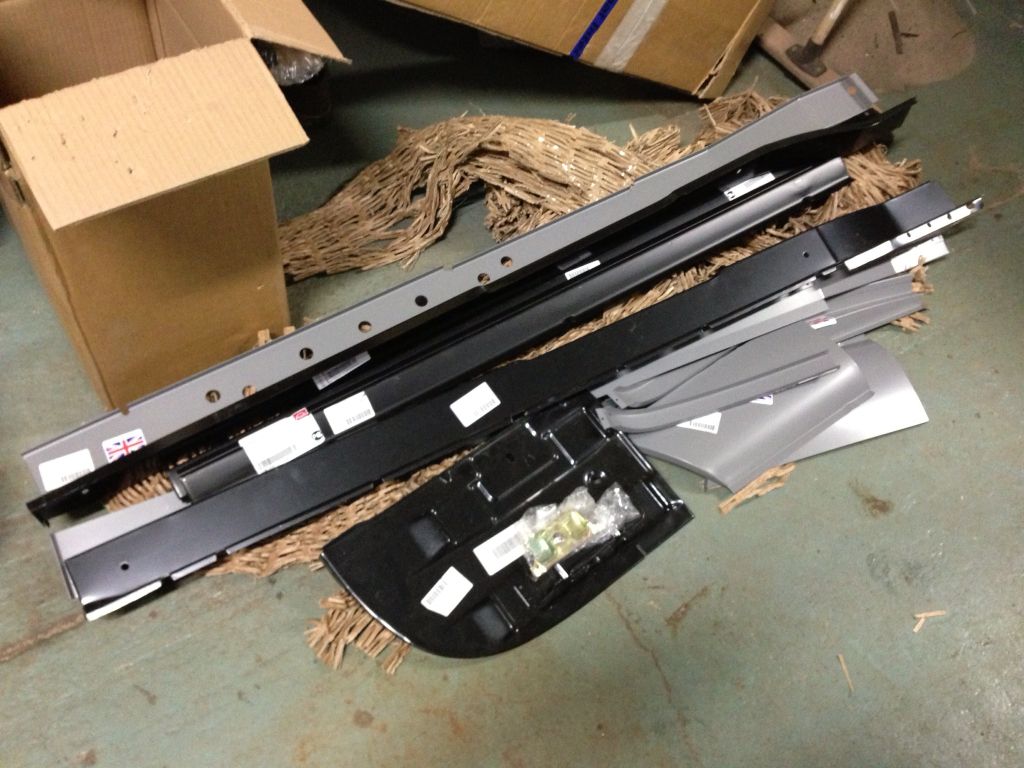
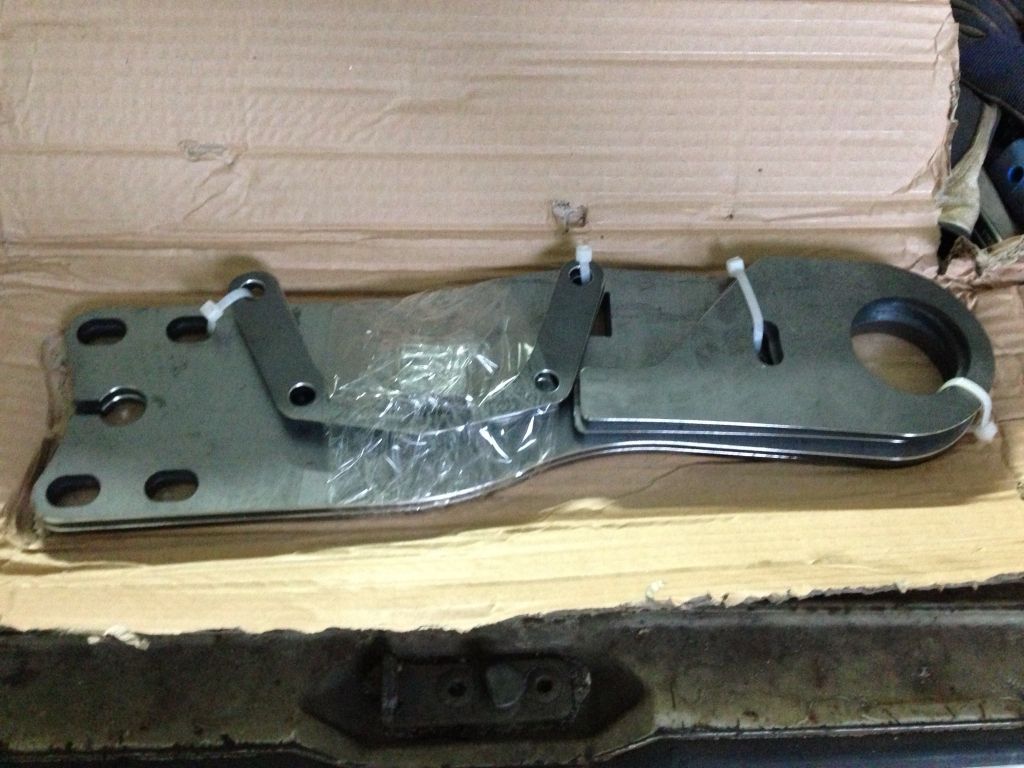
Had a pick up today 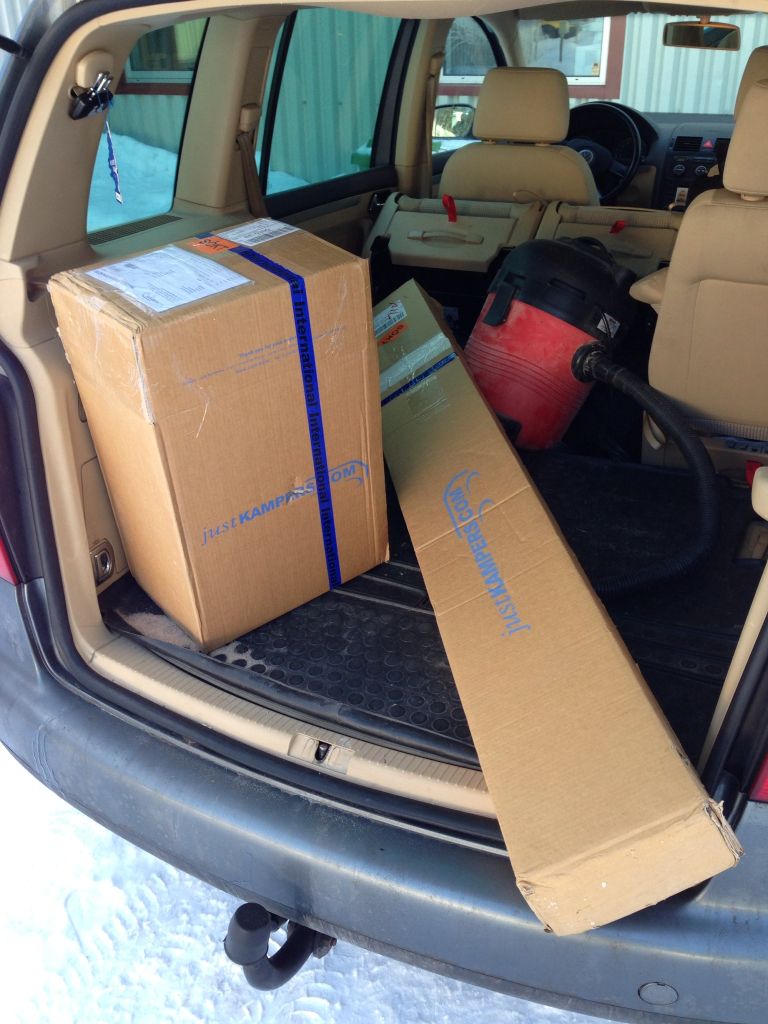
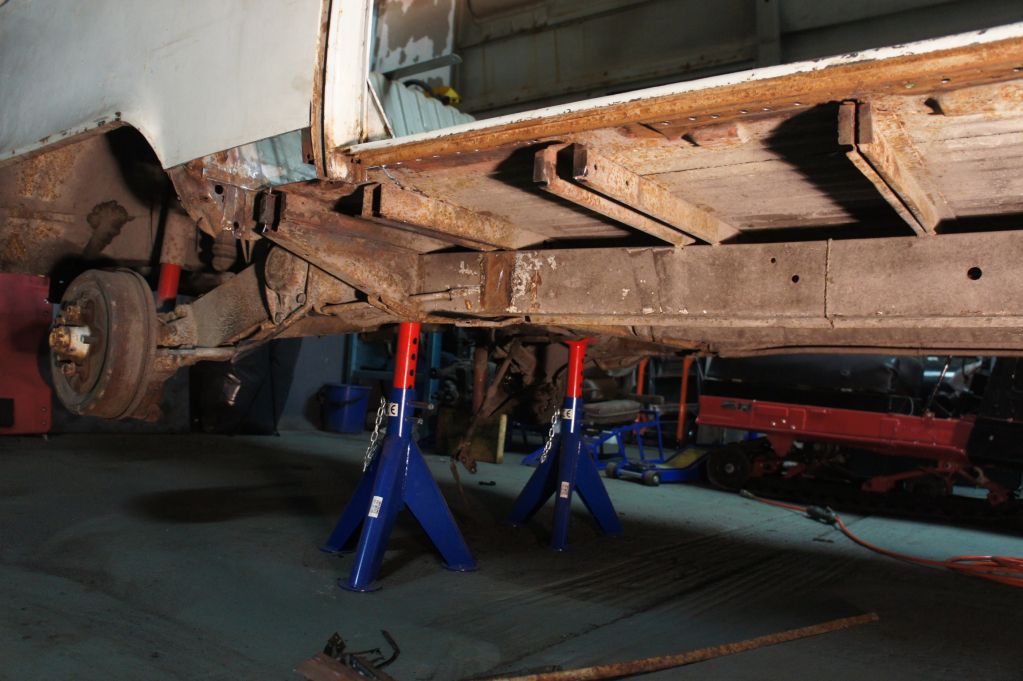
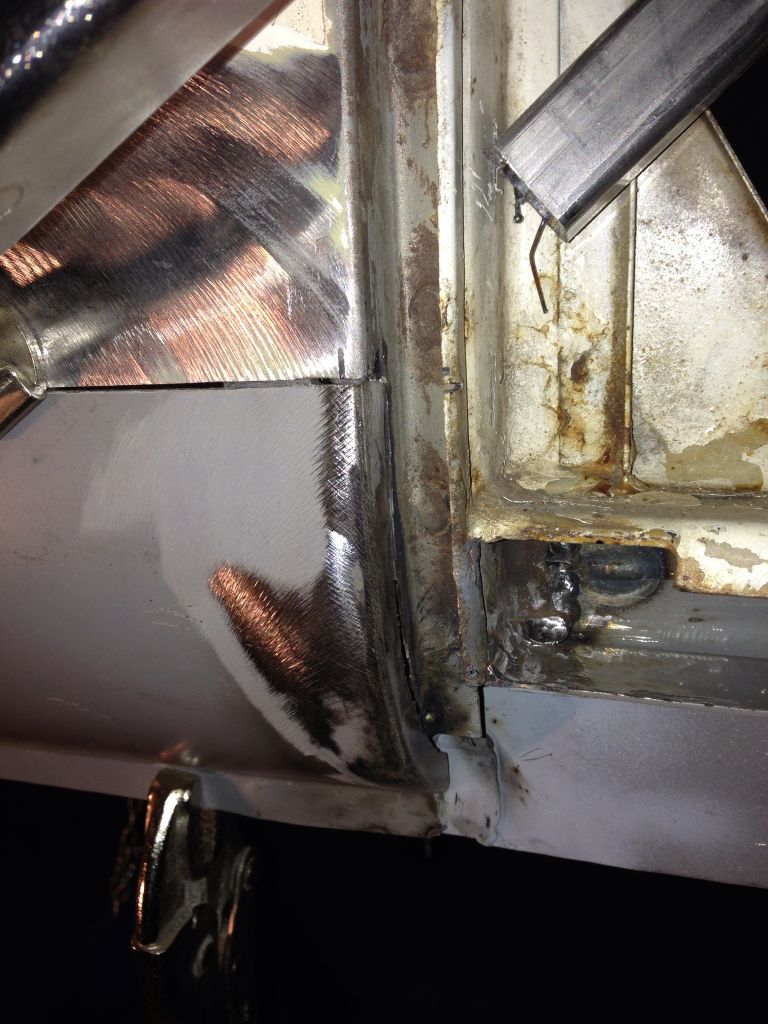
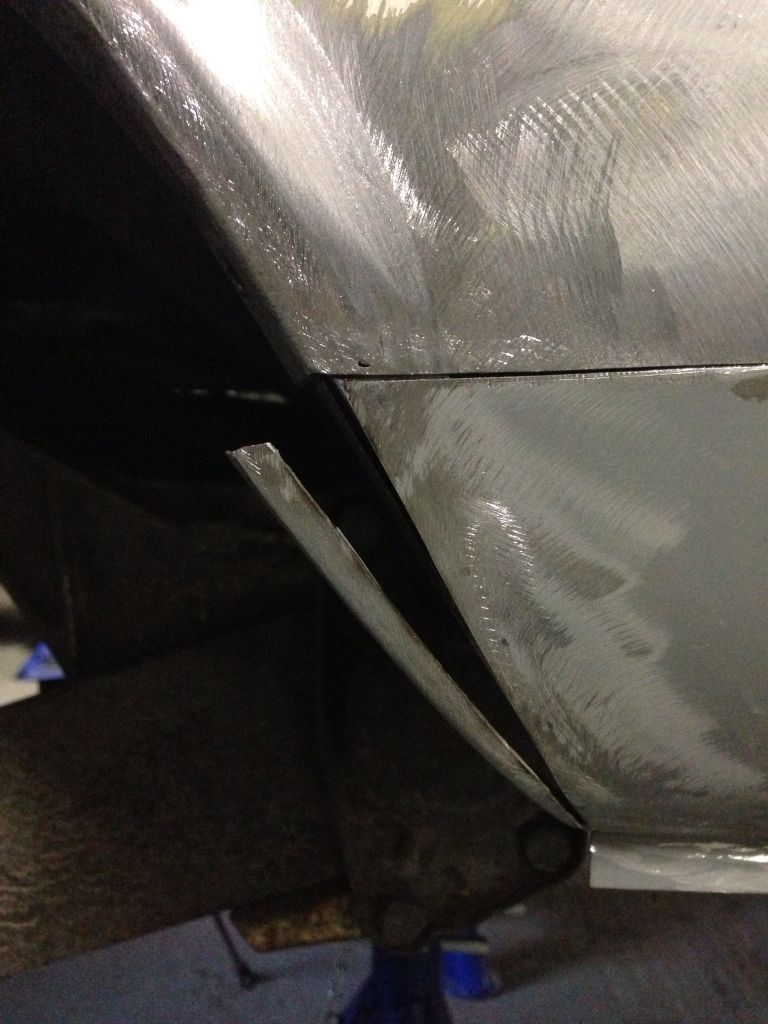
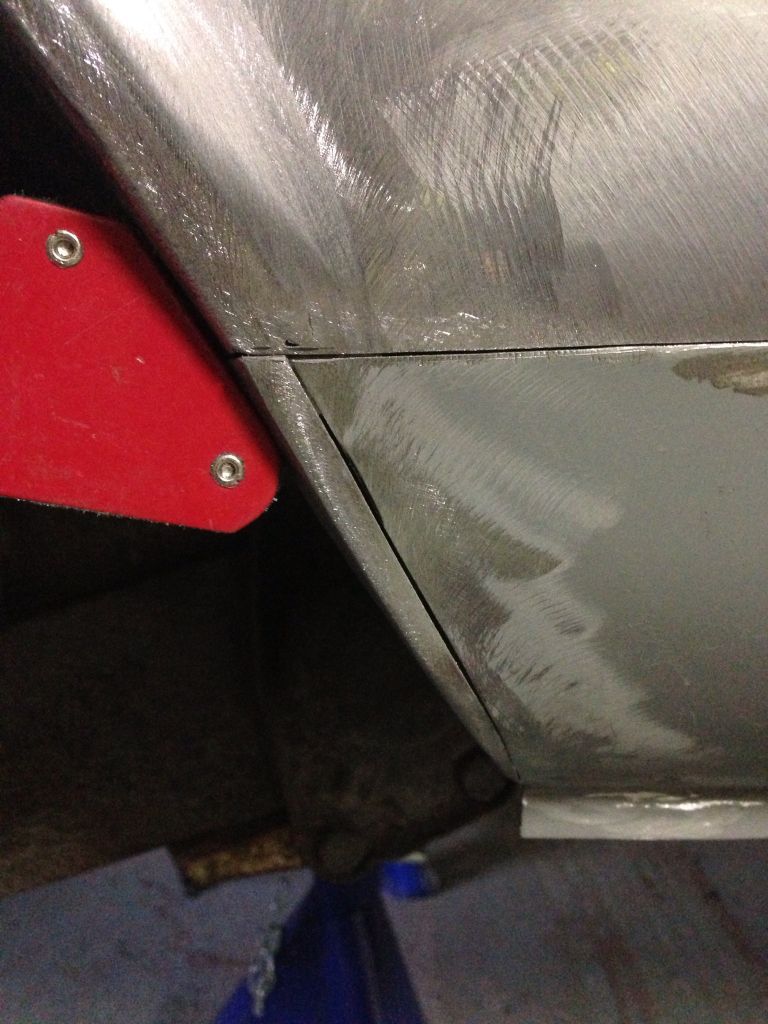
Ok here are some of the pre-cuts I've done to prepare for the drop 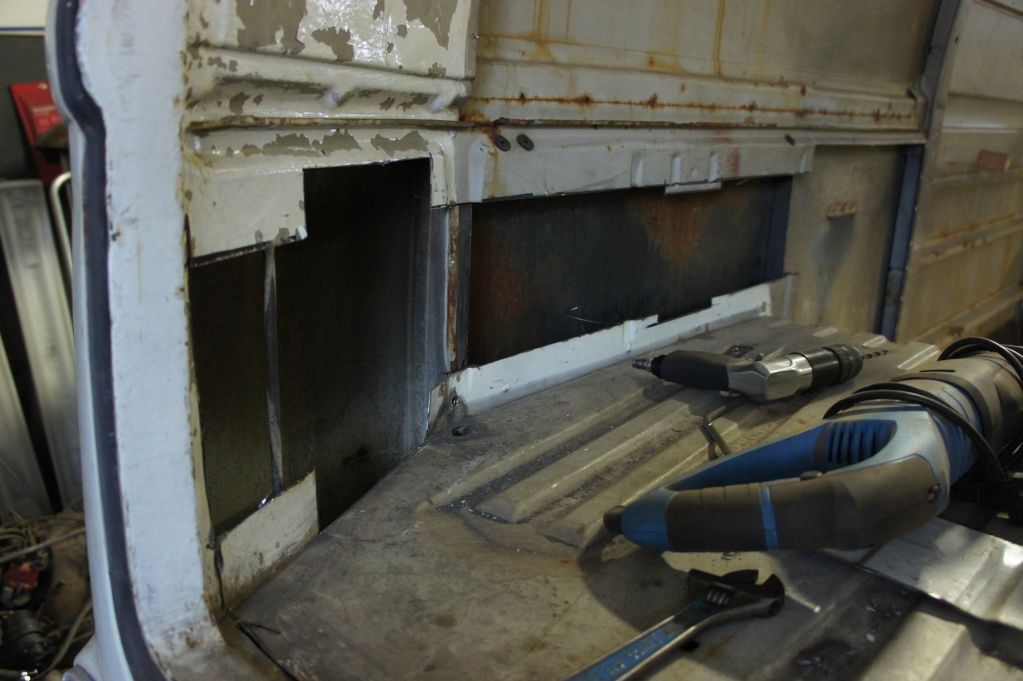
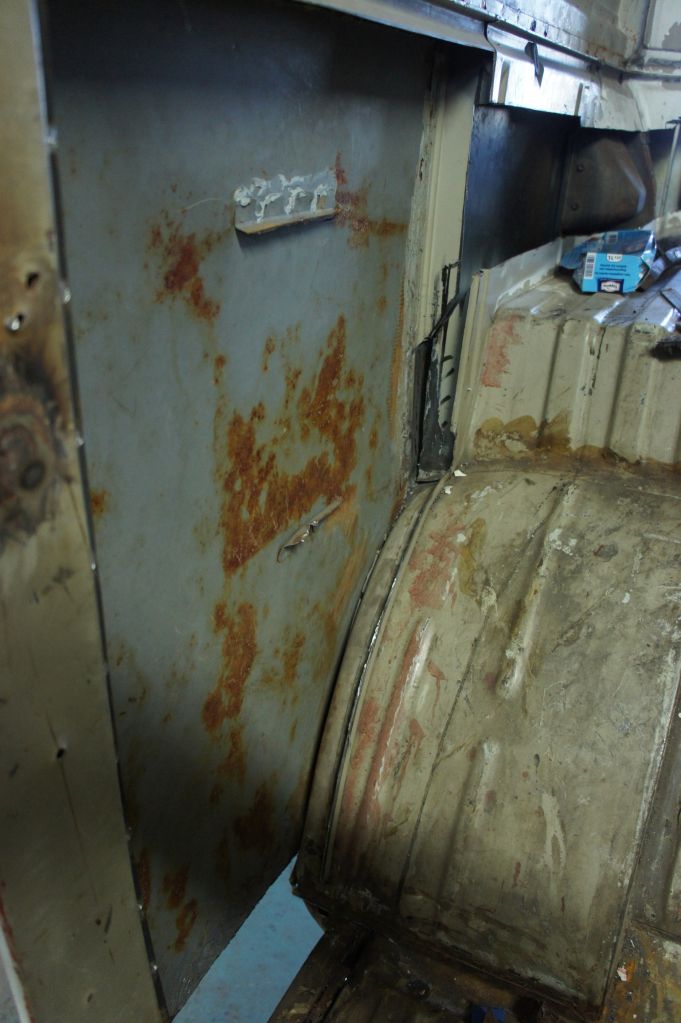
Separating the inner sections from the outer body is quite a thought process with trying to retain original panels for line up & seal again difficult but not impossible
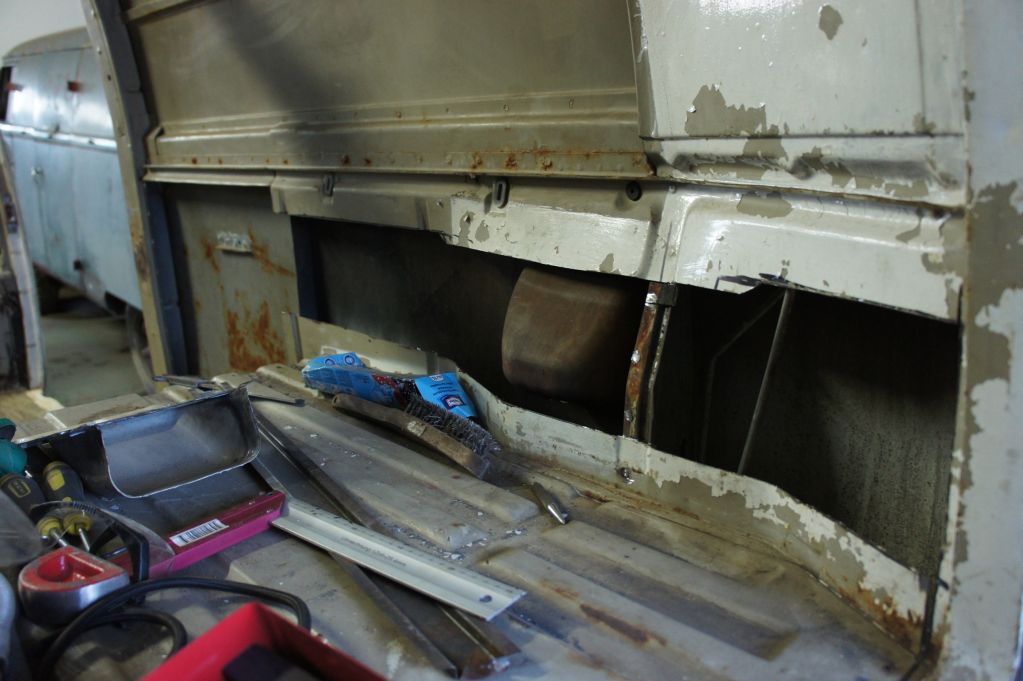
You can see in this pic that the panel which runs along the body section needs to bu separated at the spot points & released from the outer skin so it can slide up with the inner section whilst dropping the body!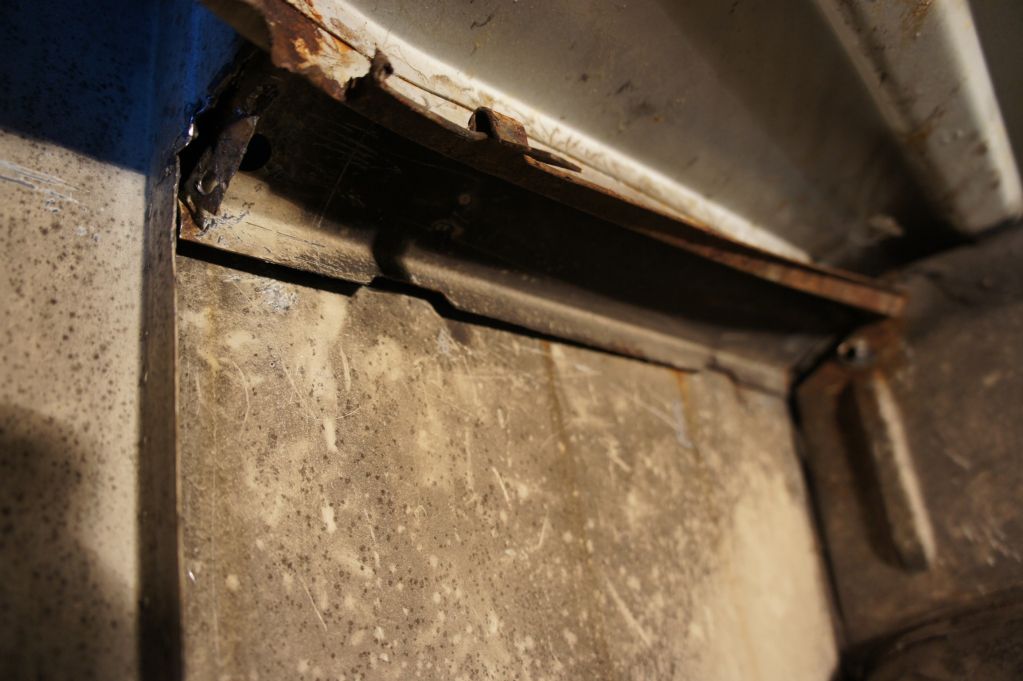
You'll notice on the right side (second pic) the fuel neck housing needs to be modified also..... Depending on the size of the drop! Most cases the drops are made 2-4 inches but in this case we are going further 
Interesting ! Good work !

This i must see, will follow this thread like the sucker i am
How much will u drop?

Good to see one person who lives after Volkrods.com old saying 'Cut,weld,drive! '
Well done so far! :-)

This i must see, will follow this thread like the sucker i am
How much will u drop?
Going by the metric system here so 150mm
Thanks for all the positive responses guys it's gonna be a fun journey I promise
Well not much to look at but this damn centre sill took a lot of adjusting to get right! No case of slapp it in here! the inner sills are perfect but being stock vw why wouldn't they be as for pre-fabbed panels, of course they need some elbow grease........ Can't have it too easy now can we 
Anyway after throwin the hammer & dollies at it & a bit of chiropratics I managed to manipulate it & get it right! 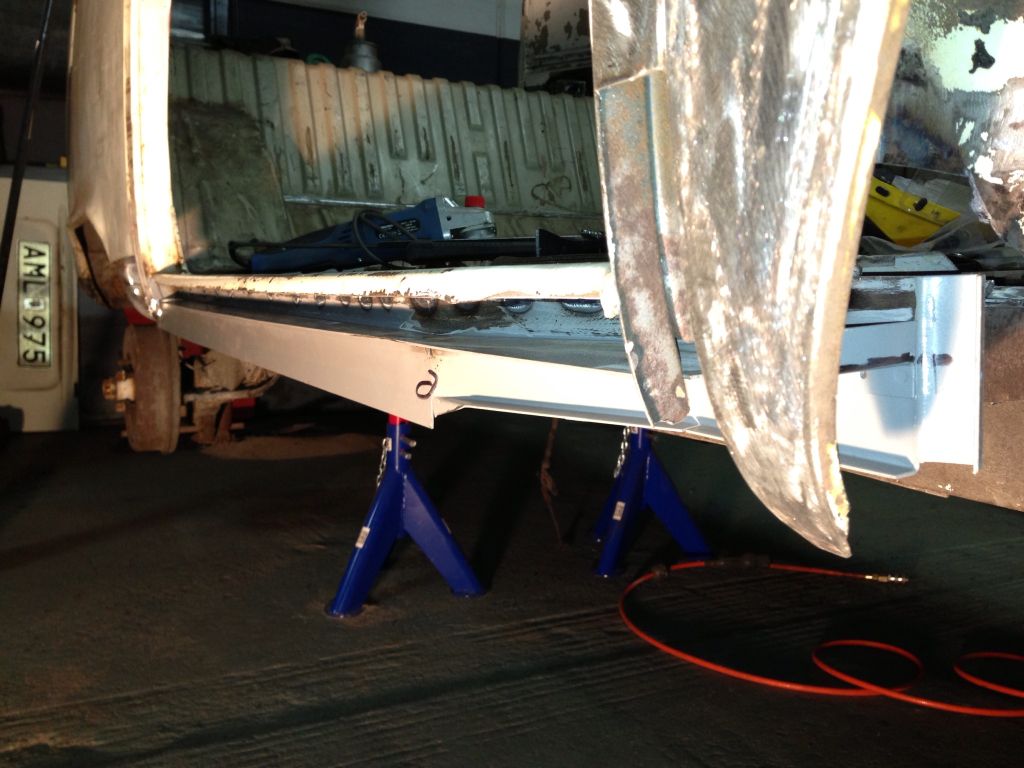
So if anyone has bought the English sill kit be prepared make sure you check the door run before you go & weld it in
Looking good ! Do you have any experience of Autocrafts sill kit for bay ? I´ve plans to order all that I need to my early bay from there.
Looking good ! Do you have any experience of Autocrafts sill kit for bay ? I´ve plans to order all that I need to my early bay from there.
What experience I have of autocraft is that they make really good quality parts with good material but as for complete sills I think they only supply inners & single cab outers, not sure about the centre sill plates? Even though I got outers with my kits I'm thinking of buying the autocraft single cab ones..... Heavier gauge material
Well making some progress with the sill repair! Don't get allot of time to spend on it so this post may take a wee while
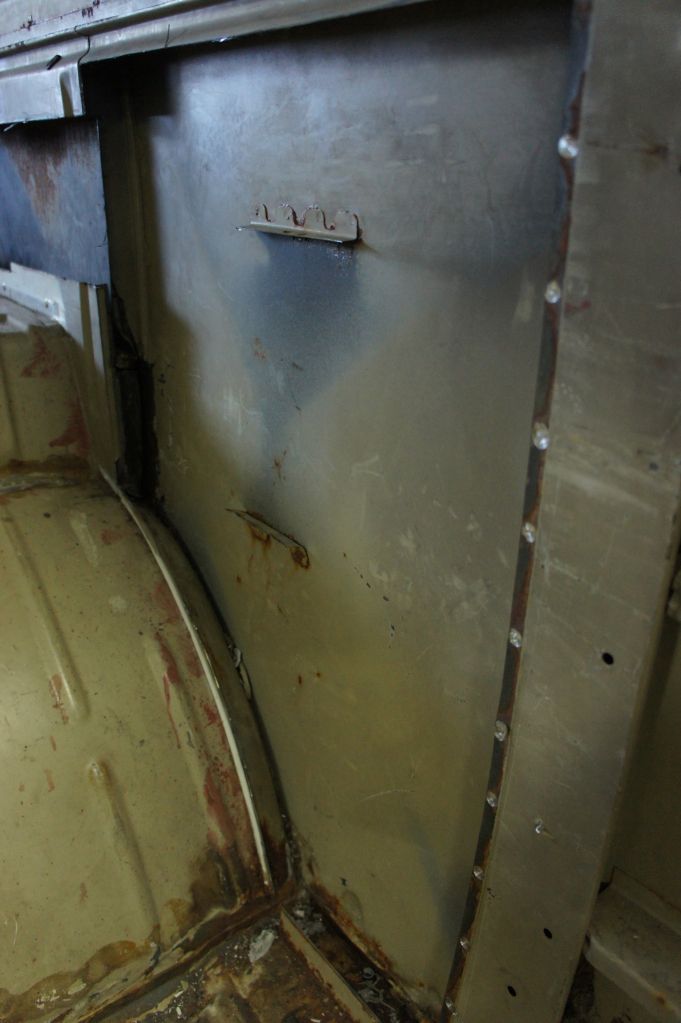
So worked out the jacking points!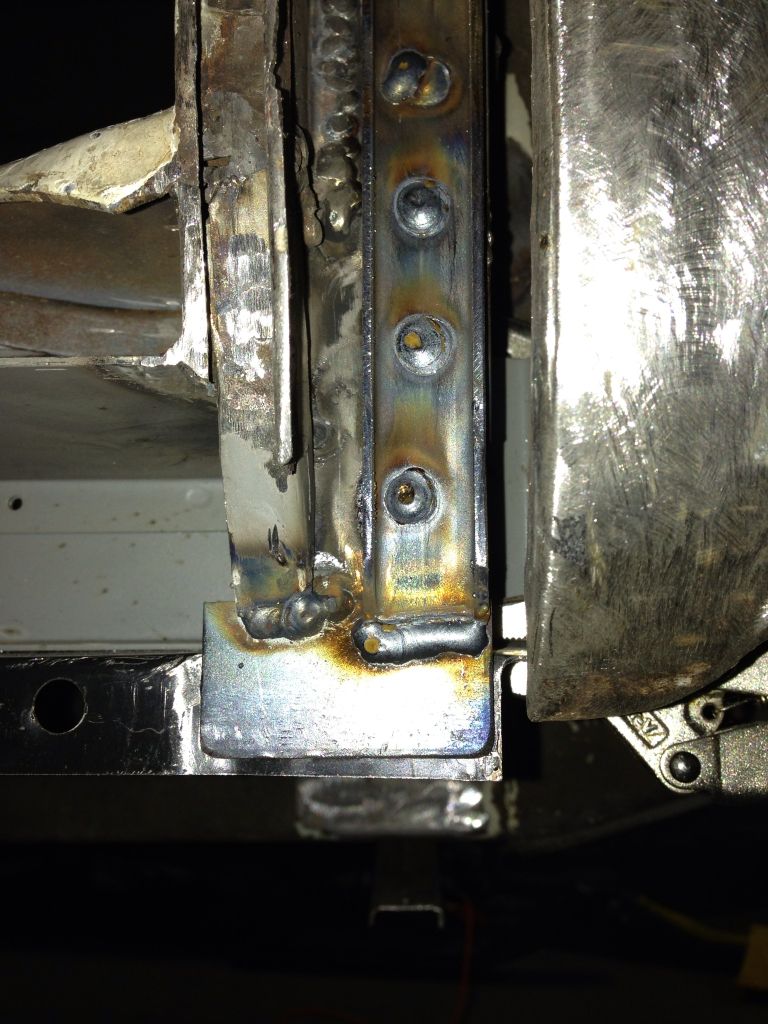
Using the B & C posts as supports tied in with bracing from the beams later.
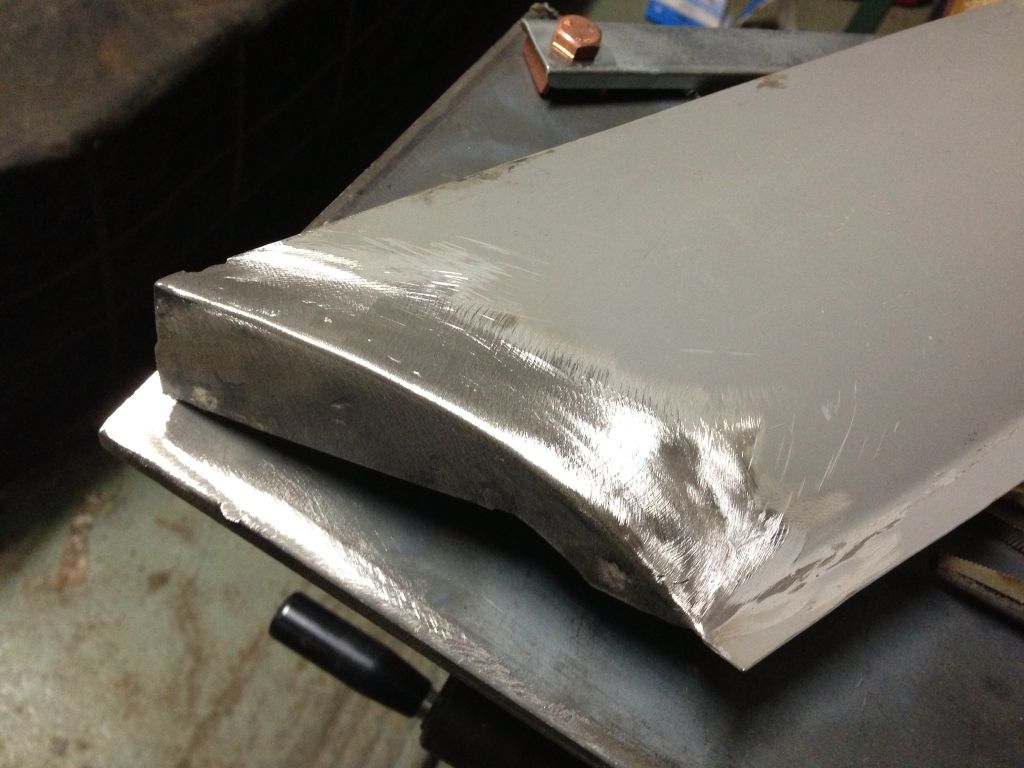
Had to do some panel beating first but started fitting the quarter section...... 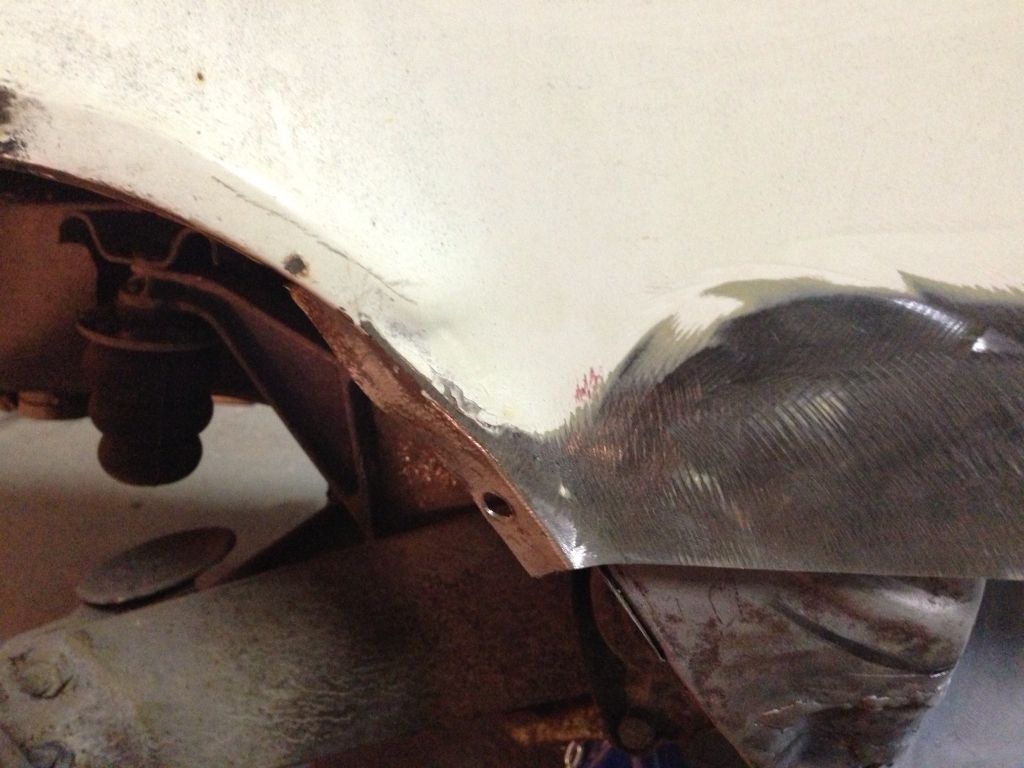
Needed a lot of re forming & trimming down on the replacement section panels but got there!
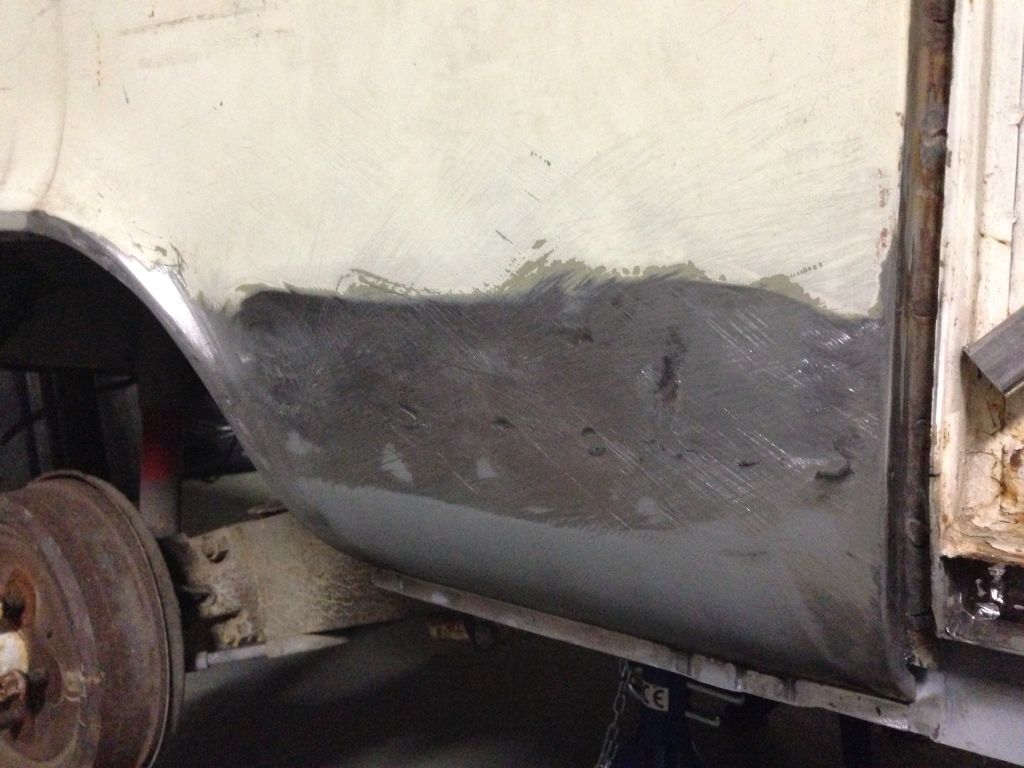
The curve of the panel was incorrect for the lineup to the sill & door!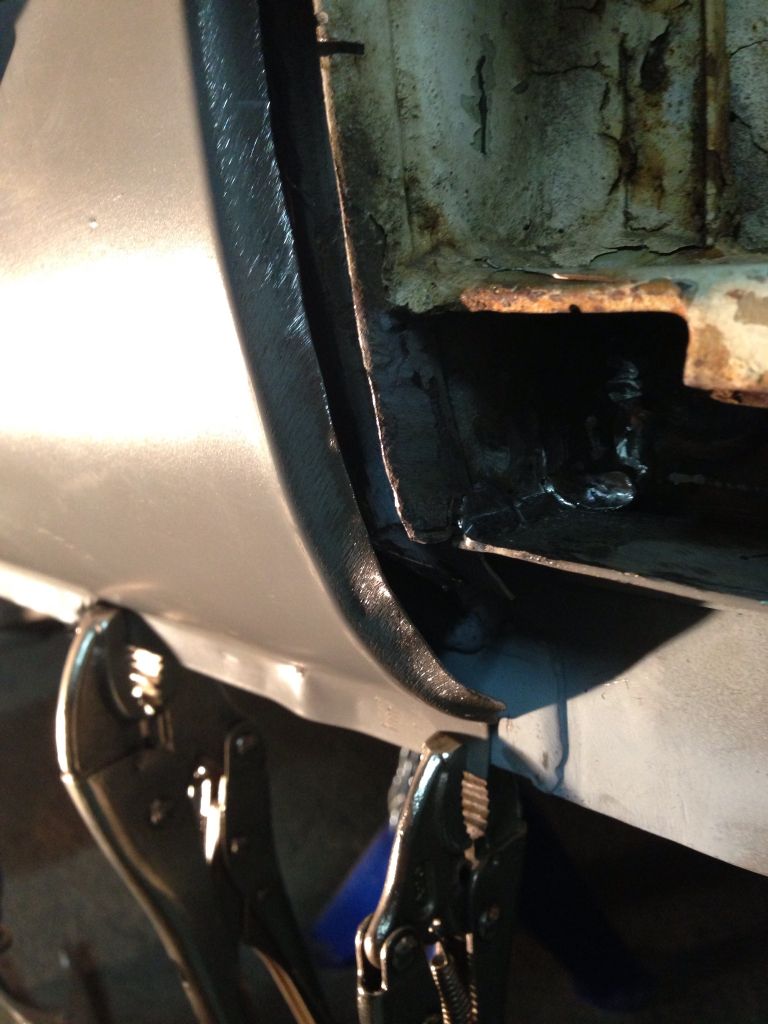
Also the rear didn't line up at all so out with the cutting wheel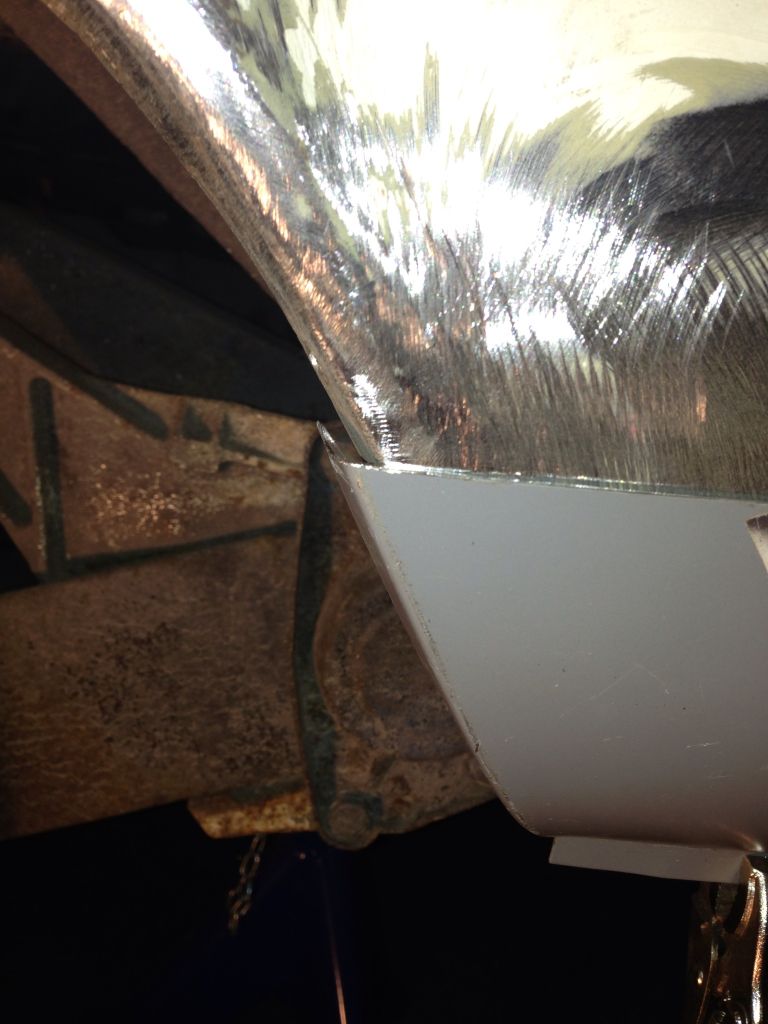
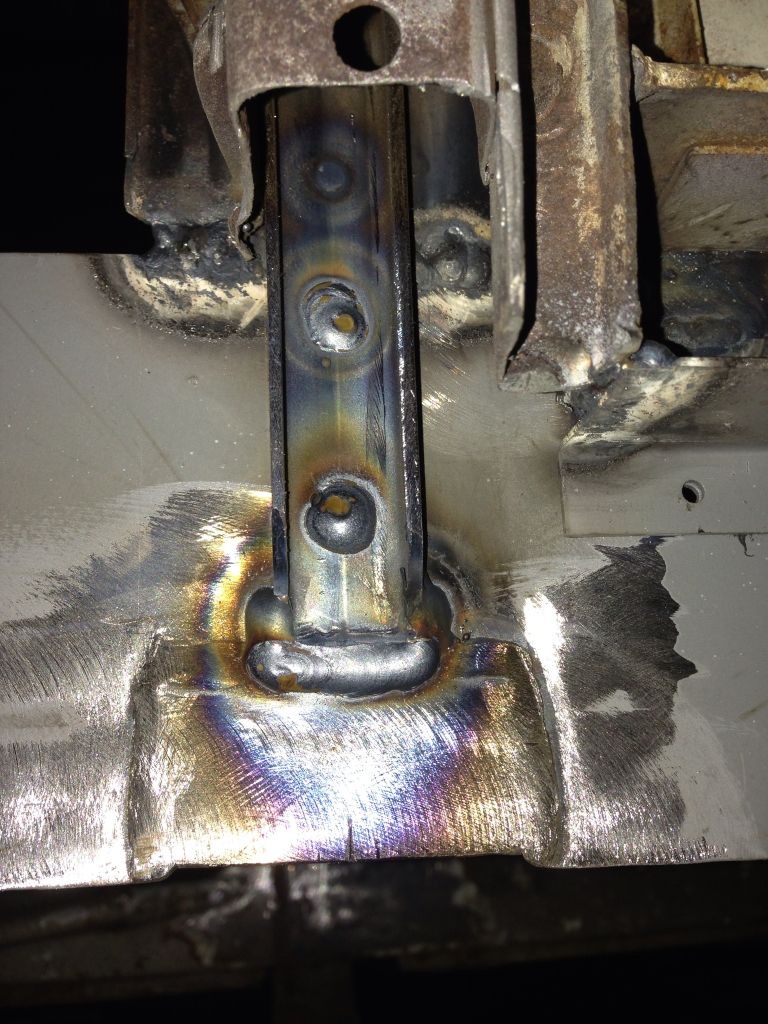
busted out the tig which haven't used one in about 6 years so was a little rusty but came back pretty quick 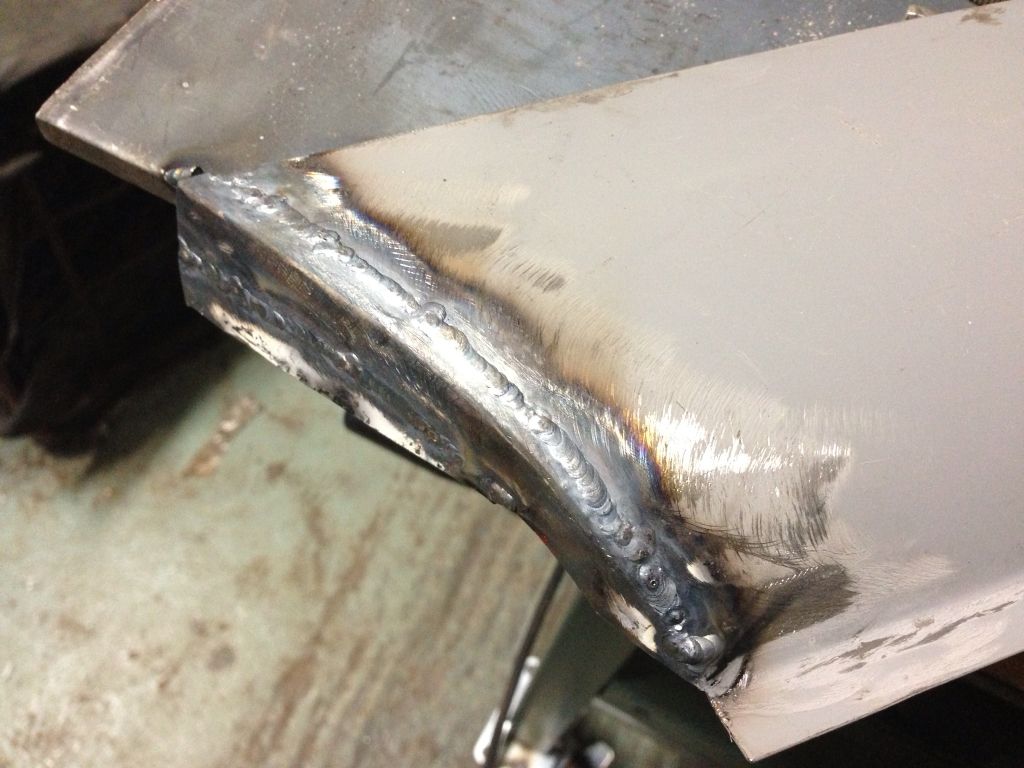
& trim a little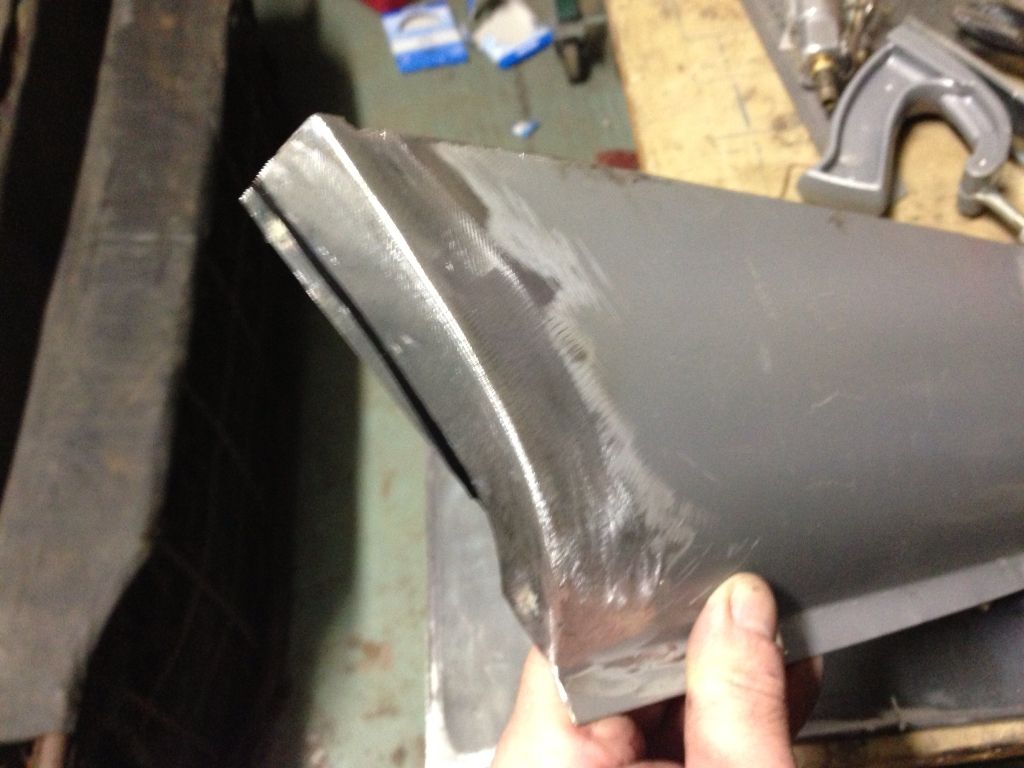
& a bit of re forming so it looks the part & doesn't run in with the jacking point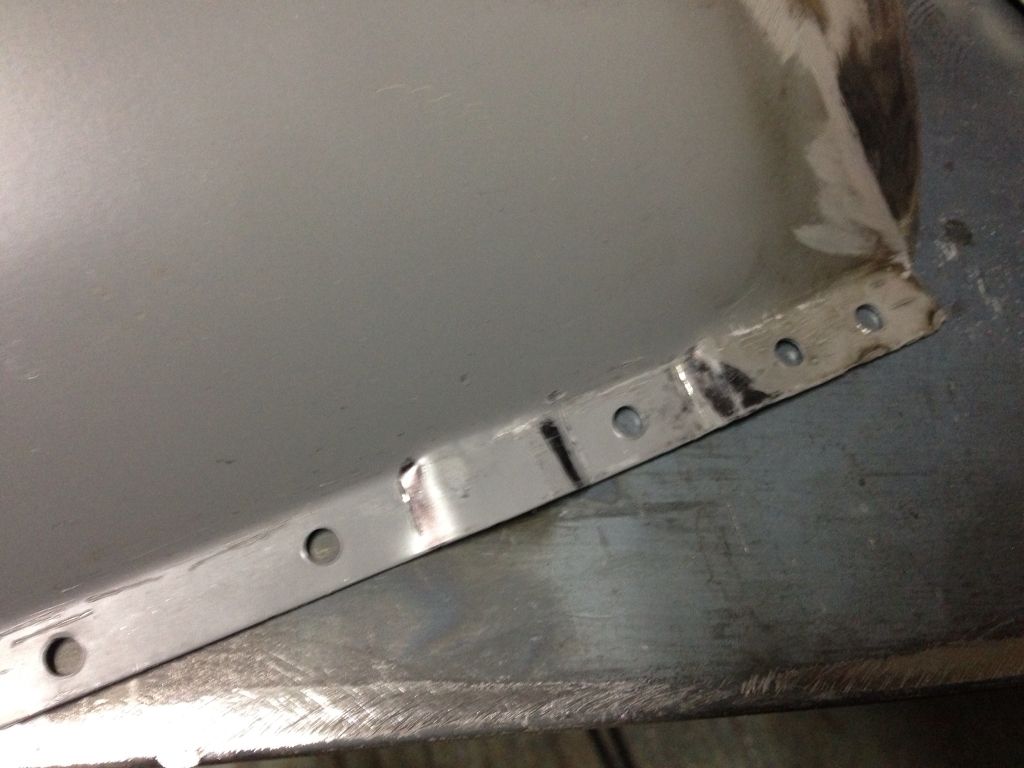
Then a few bends over the knee here & there & sitting without clamping or pressure then tacked into place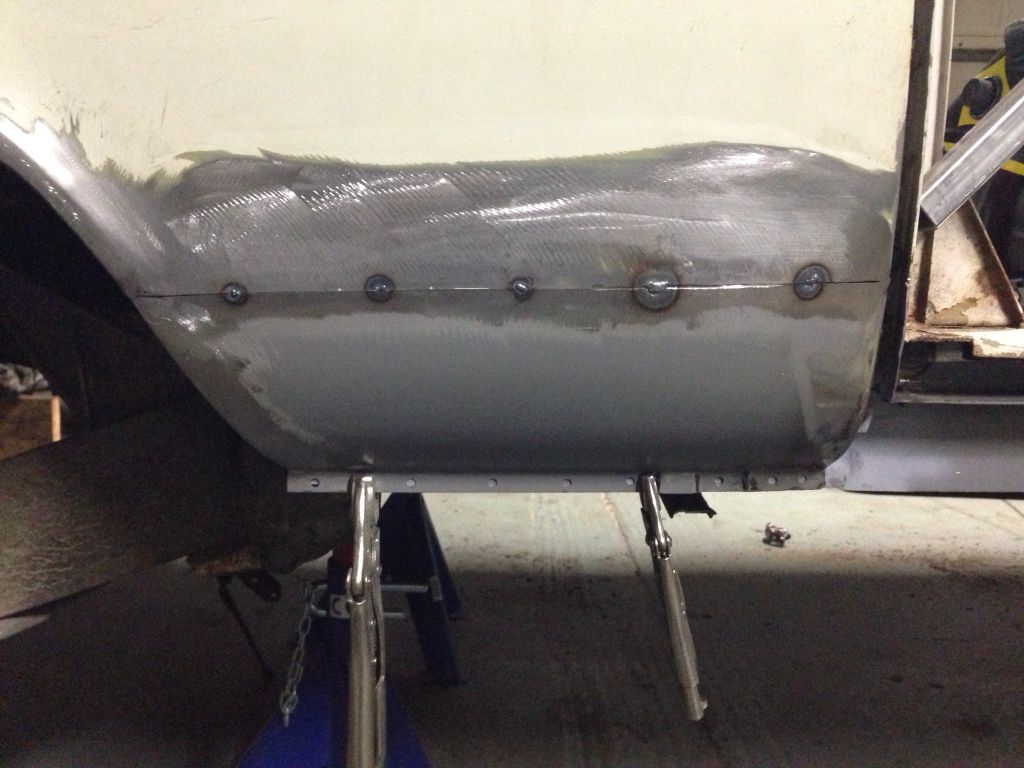
& away we go 
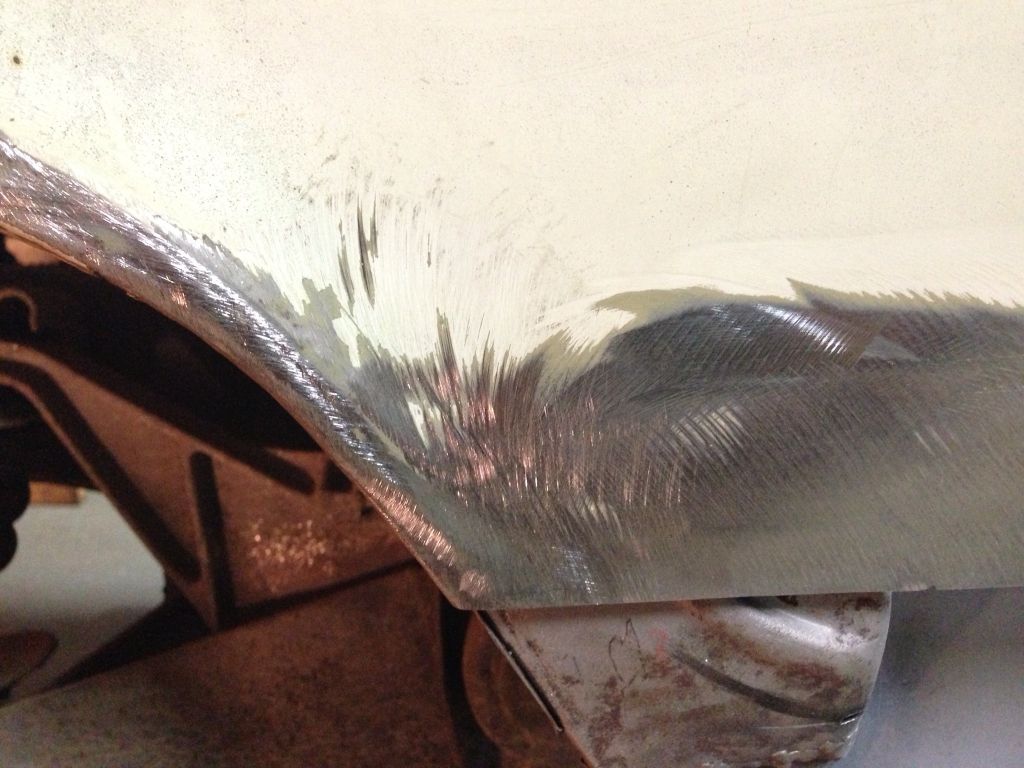
Ground down & body filed & almost as good as new 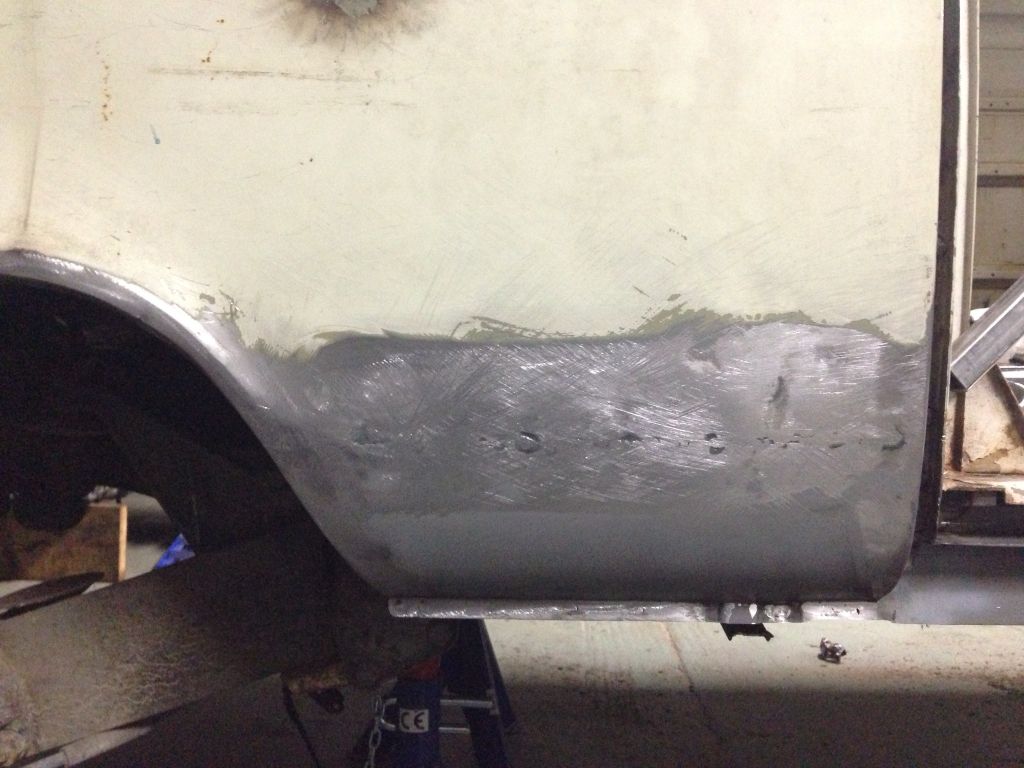
Plus some more packages 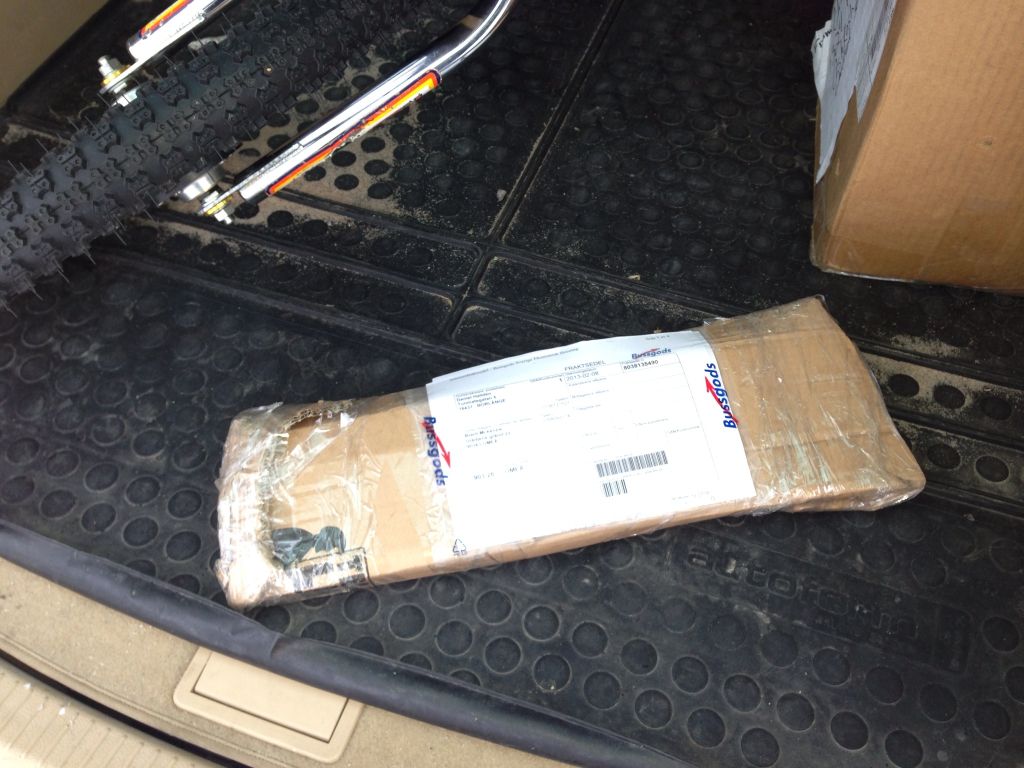
Very
Impressive. I wanna try this.
thanks brutha yeah you gotta do it
Here's a teaser for all you rev heads 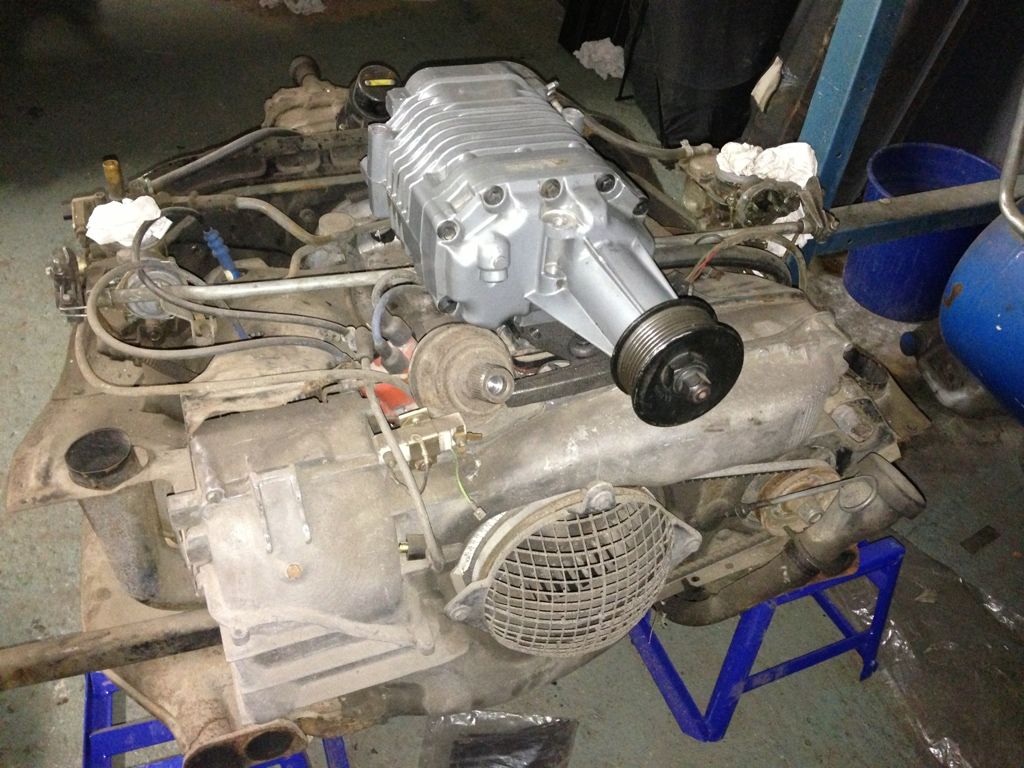

Big up!!
Lookin good!
Keep up the work!
Du måste logga in eller registrera för att svara
Boxerville » Projekt » Slambox Project 72 bodydropper
Currently installed 2 official extensions. Copyright © 2003–2009 PunBB.

